Sunday, November 4, 2012

Dell Inspiron 1545 (PP41L) – LCD Screen Replacement


Tools Used
     ·       Screwdriver
    o  Phillips #00 (or close)
    o  Slotted #1.0 (or close)
     ·       Guitar pick (or pry tool)


1.   There are (6) screws that need removed from the front
a.   Use a slotted screw driver (or blade) to remove the screw cover and then the screws


 2. Use the guitar pick (or like item) and run around the outer and inner edge to completely release the frame. You may need to gently pry the hinges to release there catch. 
(caution if equipped not to hit the camera or wires with tools)


 3. Remove the (2) screws holding the LCD
                                                                 2 located at the bottom

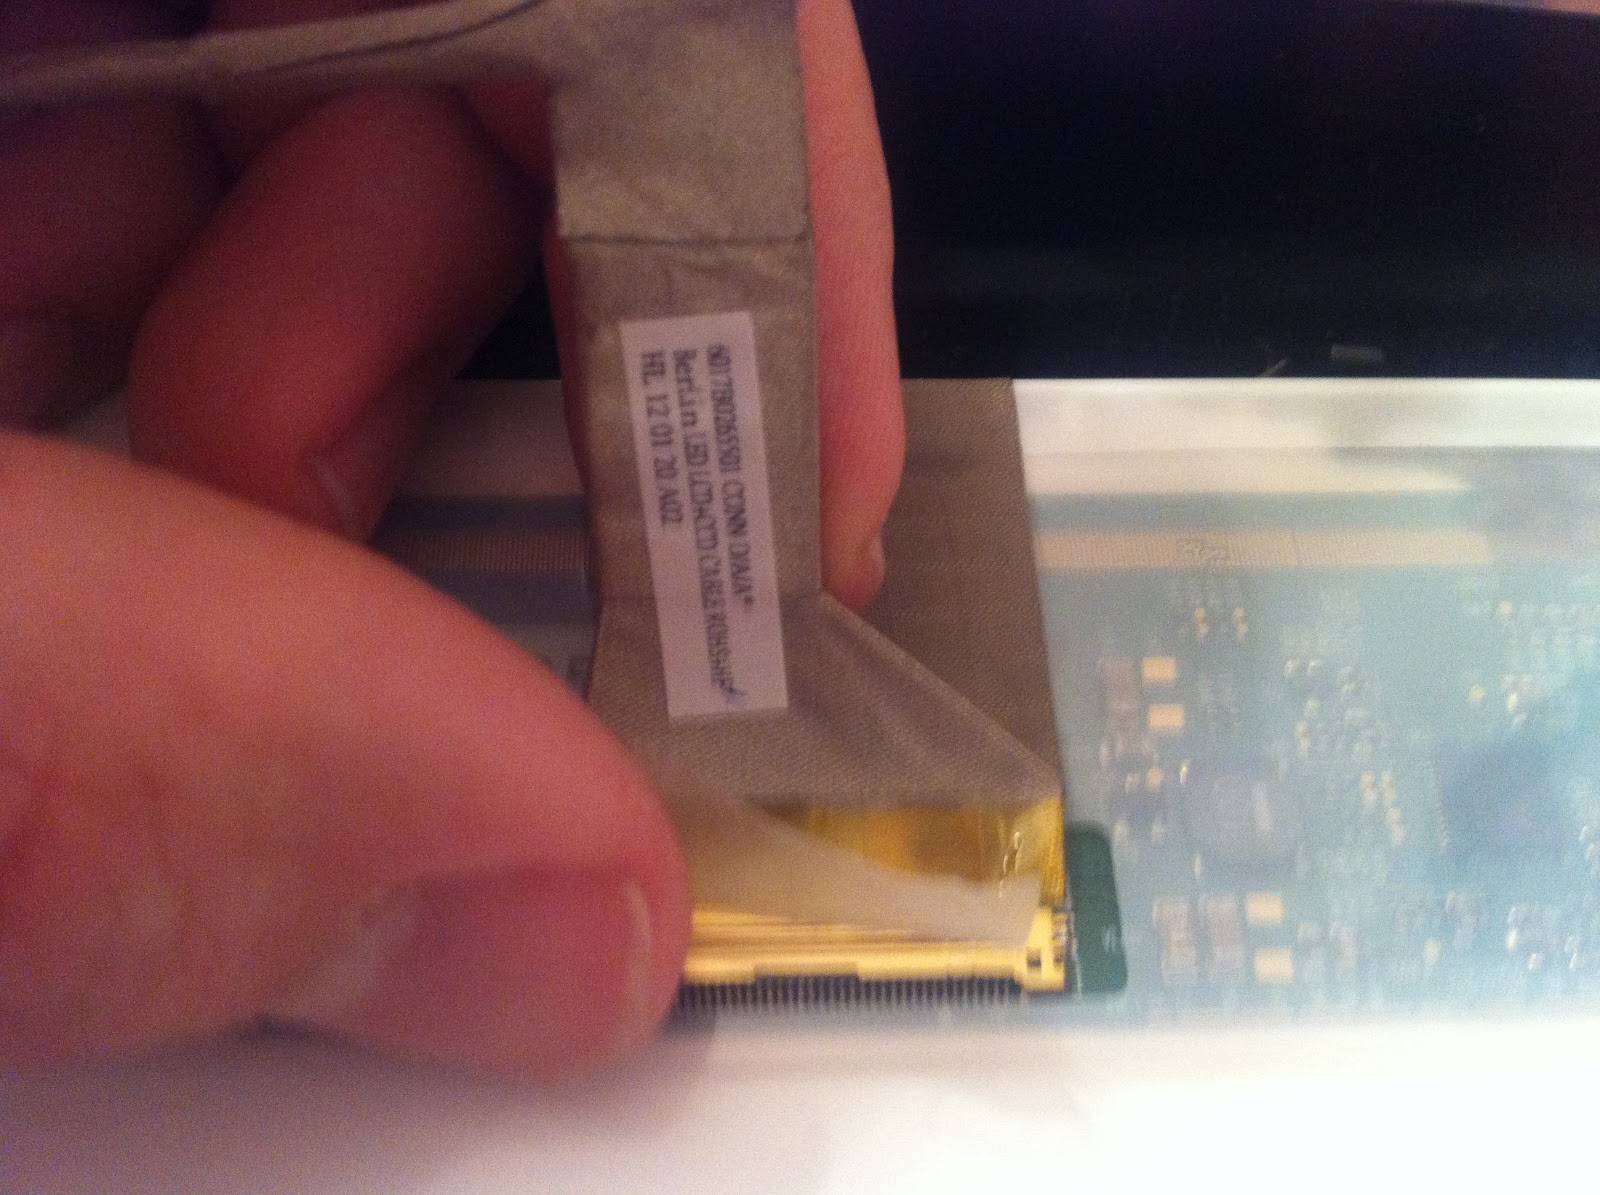
4. Lay the LCD down to unplug
a.   Gently pry the adhesive loose and unplug

5. Remove the (6) screws holding the frame on the LCD. (3) on each side.
  

 6. Place the side frames on the new LCD and plug in cable.
a. Place the LCD in position and insert the (2) screw in the lower corners. 
b.Put the cover/frame in place and squeeze gently to snap in place
c.    Insert the (6) final screws and screw covers and you are DONE!


 I personally rate this screen replacement a 4 out of 10. (10 being difficult)

Purchase your replacement screen today
http://www.laptopscreen.com/
 

Saturday, October 6, 2012

Toshiba Satellite C655D-S5511 – LCD Screen Replacement


 Tools Used
     ·       Screwdriver
    o  Phillips #00 (or close)
    o  Slotted #1.0 (or close)
     ·       Guitar pick (or pry tool)


1.   There are (4) screws that need removed from the front
a.   Use a slotted screw driver (or blade) to remove the screw cover and then the screws


 2. Use the guitar pick (or like item) and run around the outer edge to completely release the frame. (caution not to hit the camera or wires with tools)
 3. Pry gently from inside edge with fingers (all the way around) to release the cover
4. Remove the (6) screws holding the LCD
                                                                 3 one each side

  5. Lay the LCD down to unplug
a.   Gently pry the adhesive loose and unplug
 6. Plug the new LCD in and put it in place I
a.   Insert the (6) screws that hold the screen in the frame.
b.   Put the cover/frame in place and squeeze gently to snap in place
c.    Insert the (4) final screws and you are DONE!


 I personally rate this screen replacement a 2 out of 10. (10 being difficult)
 

Purchase your replacement screen today
http://www.laptopscreen.com/
 

Wednesday, August 15, 2012

HP Pavilion G7-1219WM – LCD Screen Replacement


Tools Used
     ·       Screwdriver
    o  Phillips #00 (or close)
    o  Slotted #1.0 (or close)
     ·       Guitar pick (or pry tool)


1.   There are (2) screws that need removed from the front
a.   Use a slotted screw driver (or blade) to remove the screw cover and then the screws


2.   Pry gently from inside edge with fingers (all the way around) to release the cover


   3.Use the guitar pick (or like item) and run around the outer edge to completely release the frame. (caution not to hit the camera or wires with tools)


4.   I only loosened the (4) screw in this next step. However you may choose to completely remove them.
a.   Loosen the (4) screws for easy access to the screw holding the LCD

 
b.   Remove the (4) screws holding the LCD
                                                                 2 one each side


5.   Lay the LCD down to unplug
a.   Use a guitar pick to gently pry the adhesive loose and unplug

  
6.   Plug the new LCD in and put it in place I
a.   Insert the (4) screws that hold the screen in the frame.
b.   Tighten the (4) screws that that hold the LCD to the housing.
c.    Put the cover/frame in place and squeeze gently to snap in place
d.   Insert the (2) final screws and you are DONE!

 
I personally rate this screen replacement a 2 out of 10. (10 being difficult)

Purchase your replacement screen today